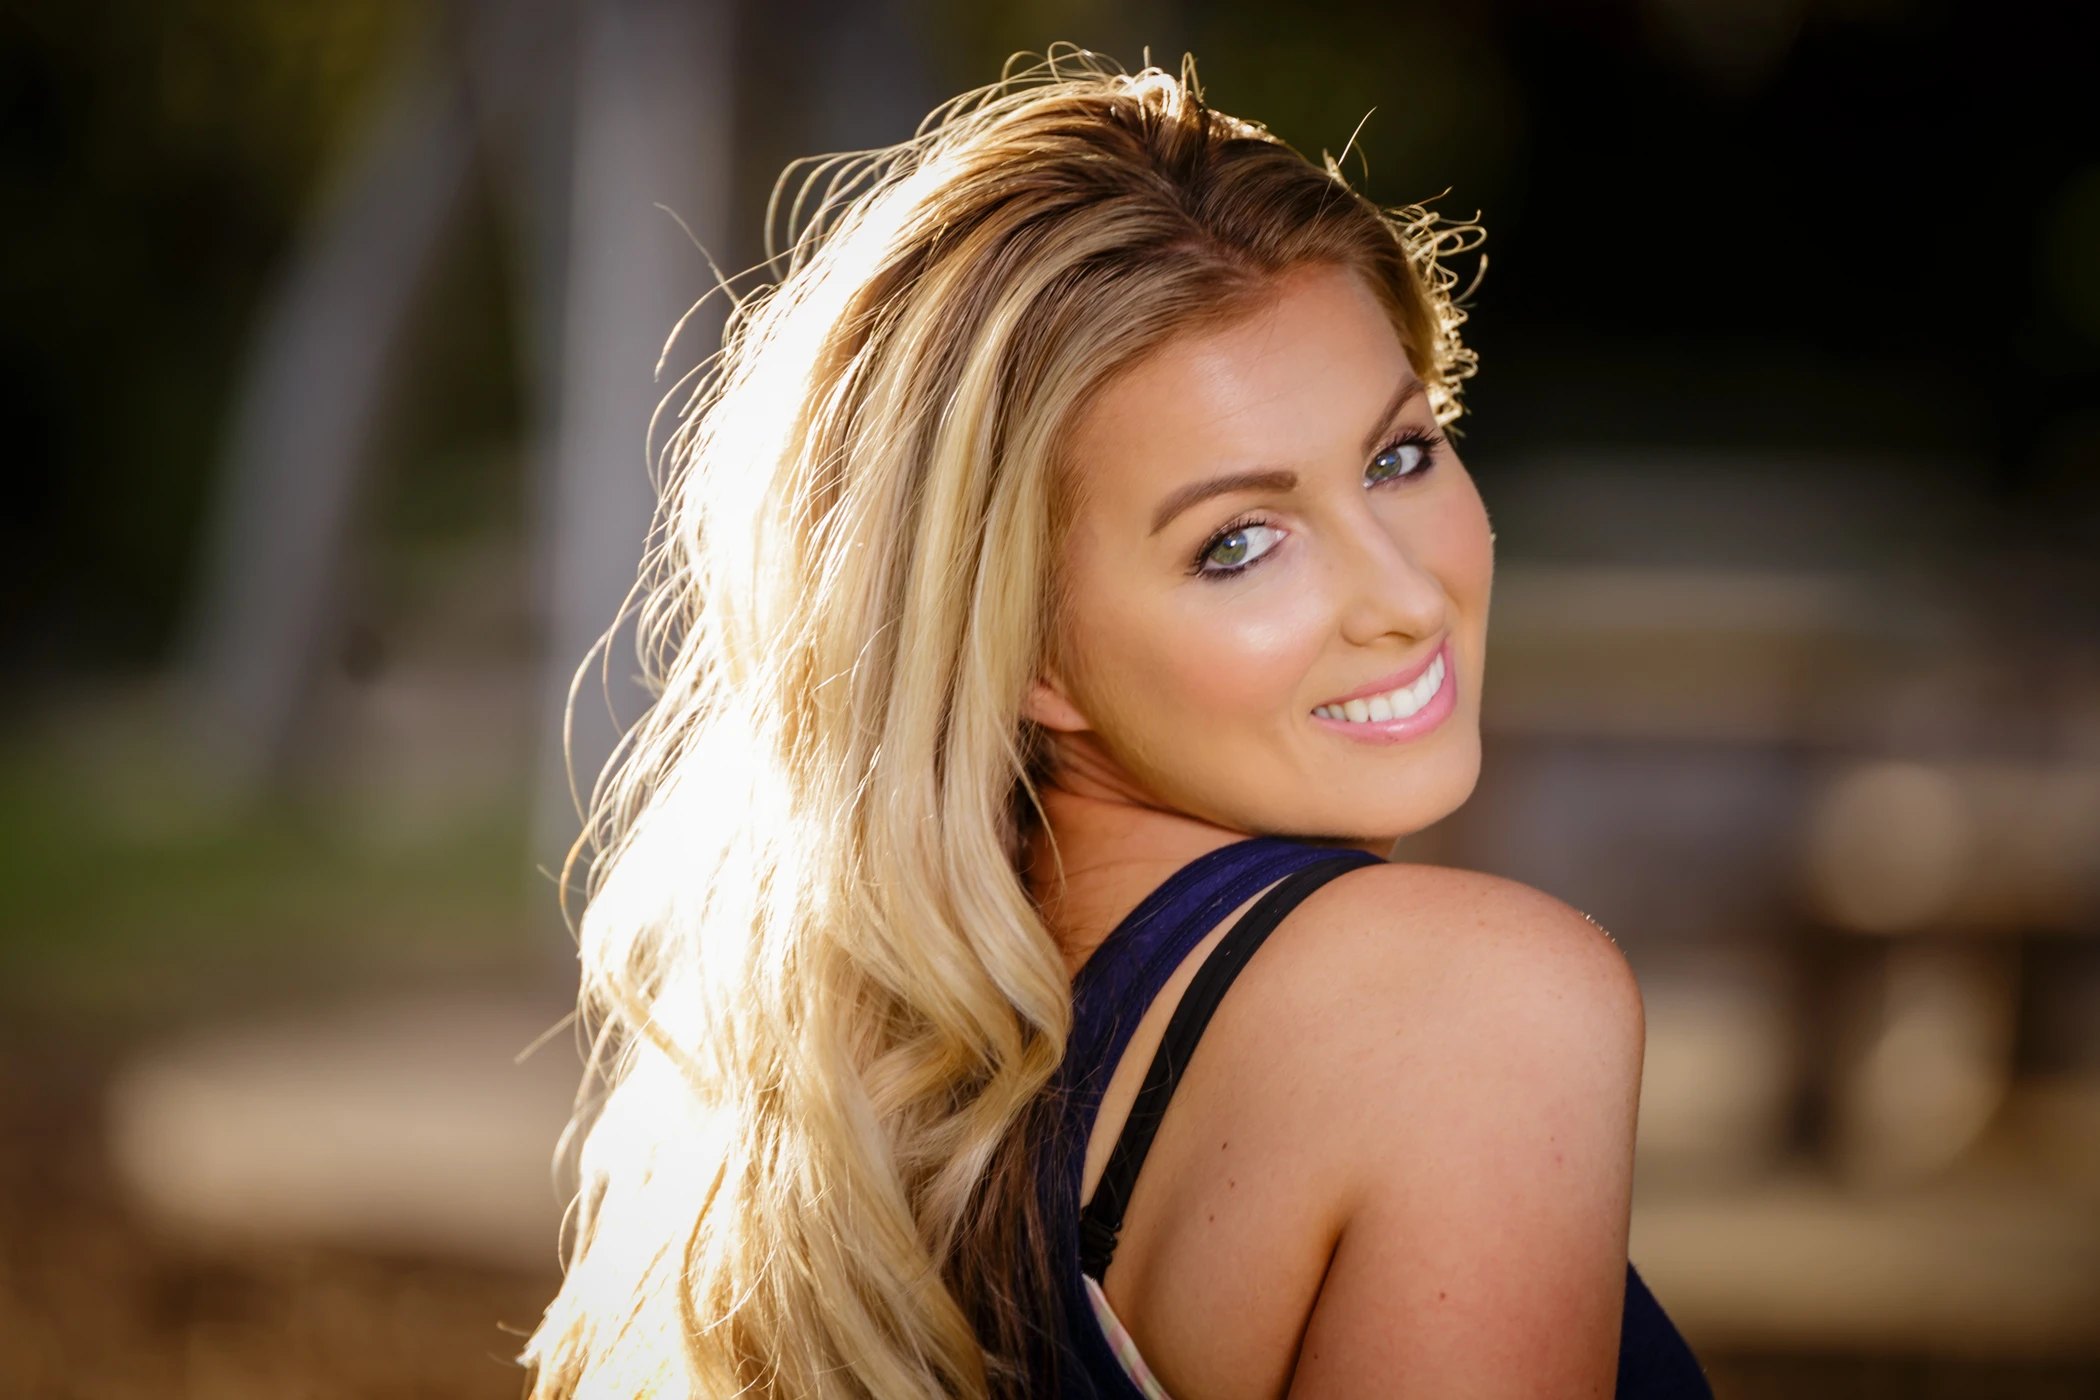
Stephanie
A Monroe Moment in Dos Picos Park
Learn more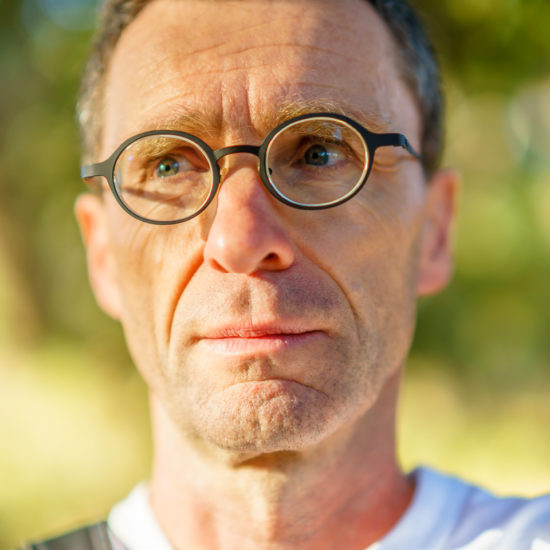
I'm Wolf Paulus and I would like to become your personal
portrait, branding, and lifestyle photographer in Sedona
Arizona. I'd love to photograph you, both of you, your next
family gathering, or your next social or corporate event.
Take a look at the
work
I feel proud of or read some of my
stories
.
I believe that you own your photos. Therefore, every session results in a personal online album comprised of your professionally edited high resolution photos, which can be easily downloaded and shared online.
Learn more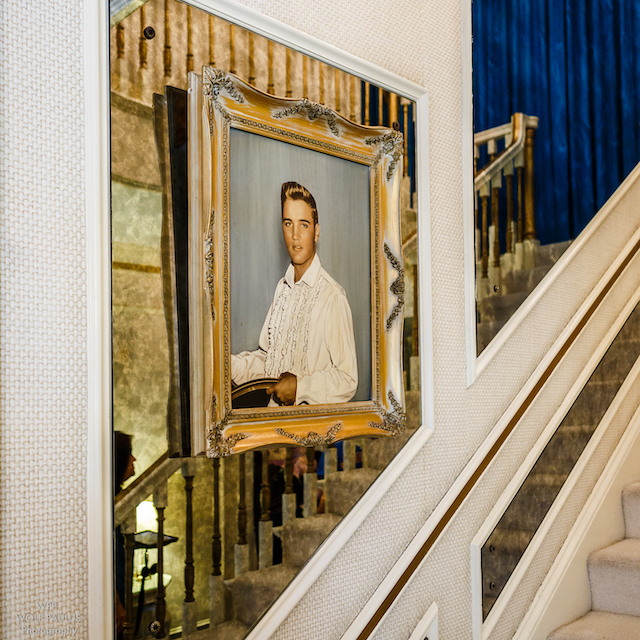
My mom is a sculpturer, my dad was a mechanic - so if you ask me, "Is the true nature of photography art or science?" I'll simply say “Yes!” Here you can read some of my stories. Still, I'd much rather help you, to tell yours.
Learn moreI'd love to photograph you, both of you, your next family gathering, or your next social or corporate event. I'm always up for interesting work, trying to match your budget. Take a look at the work I feel proud of or read some of my stories.
A Monroe Moment in Dos Picos Park
Learn more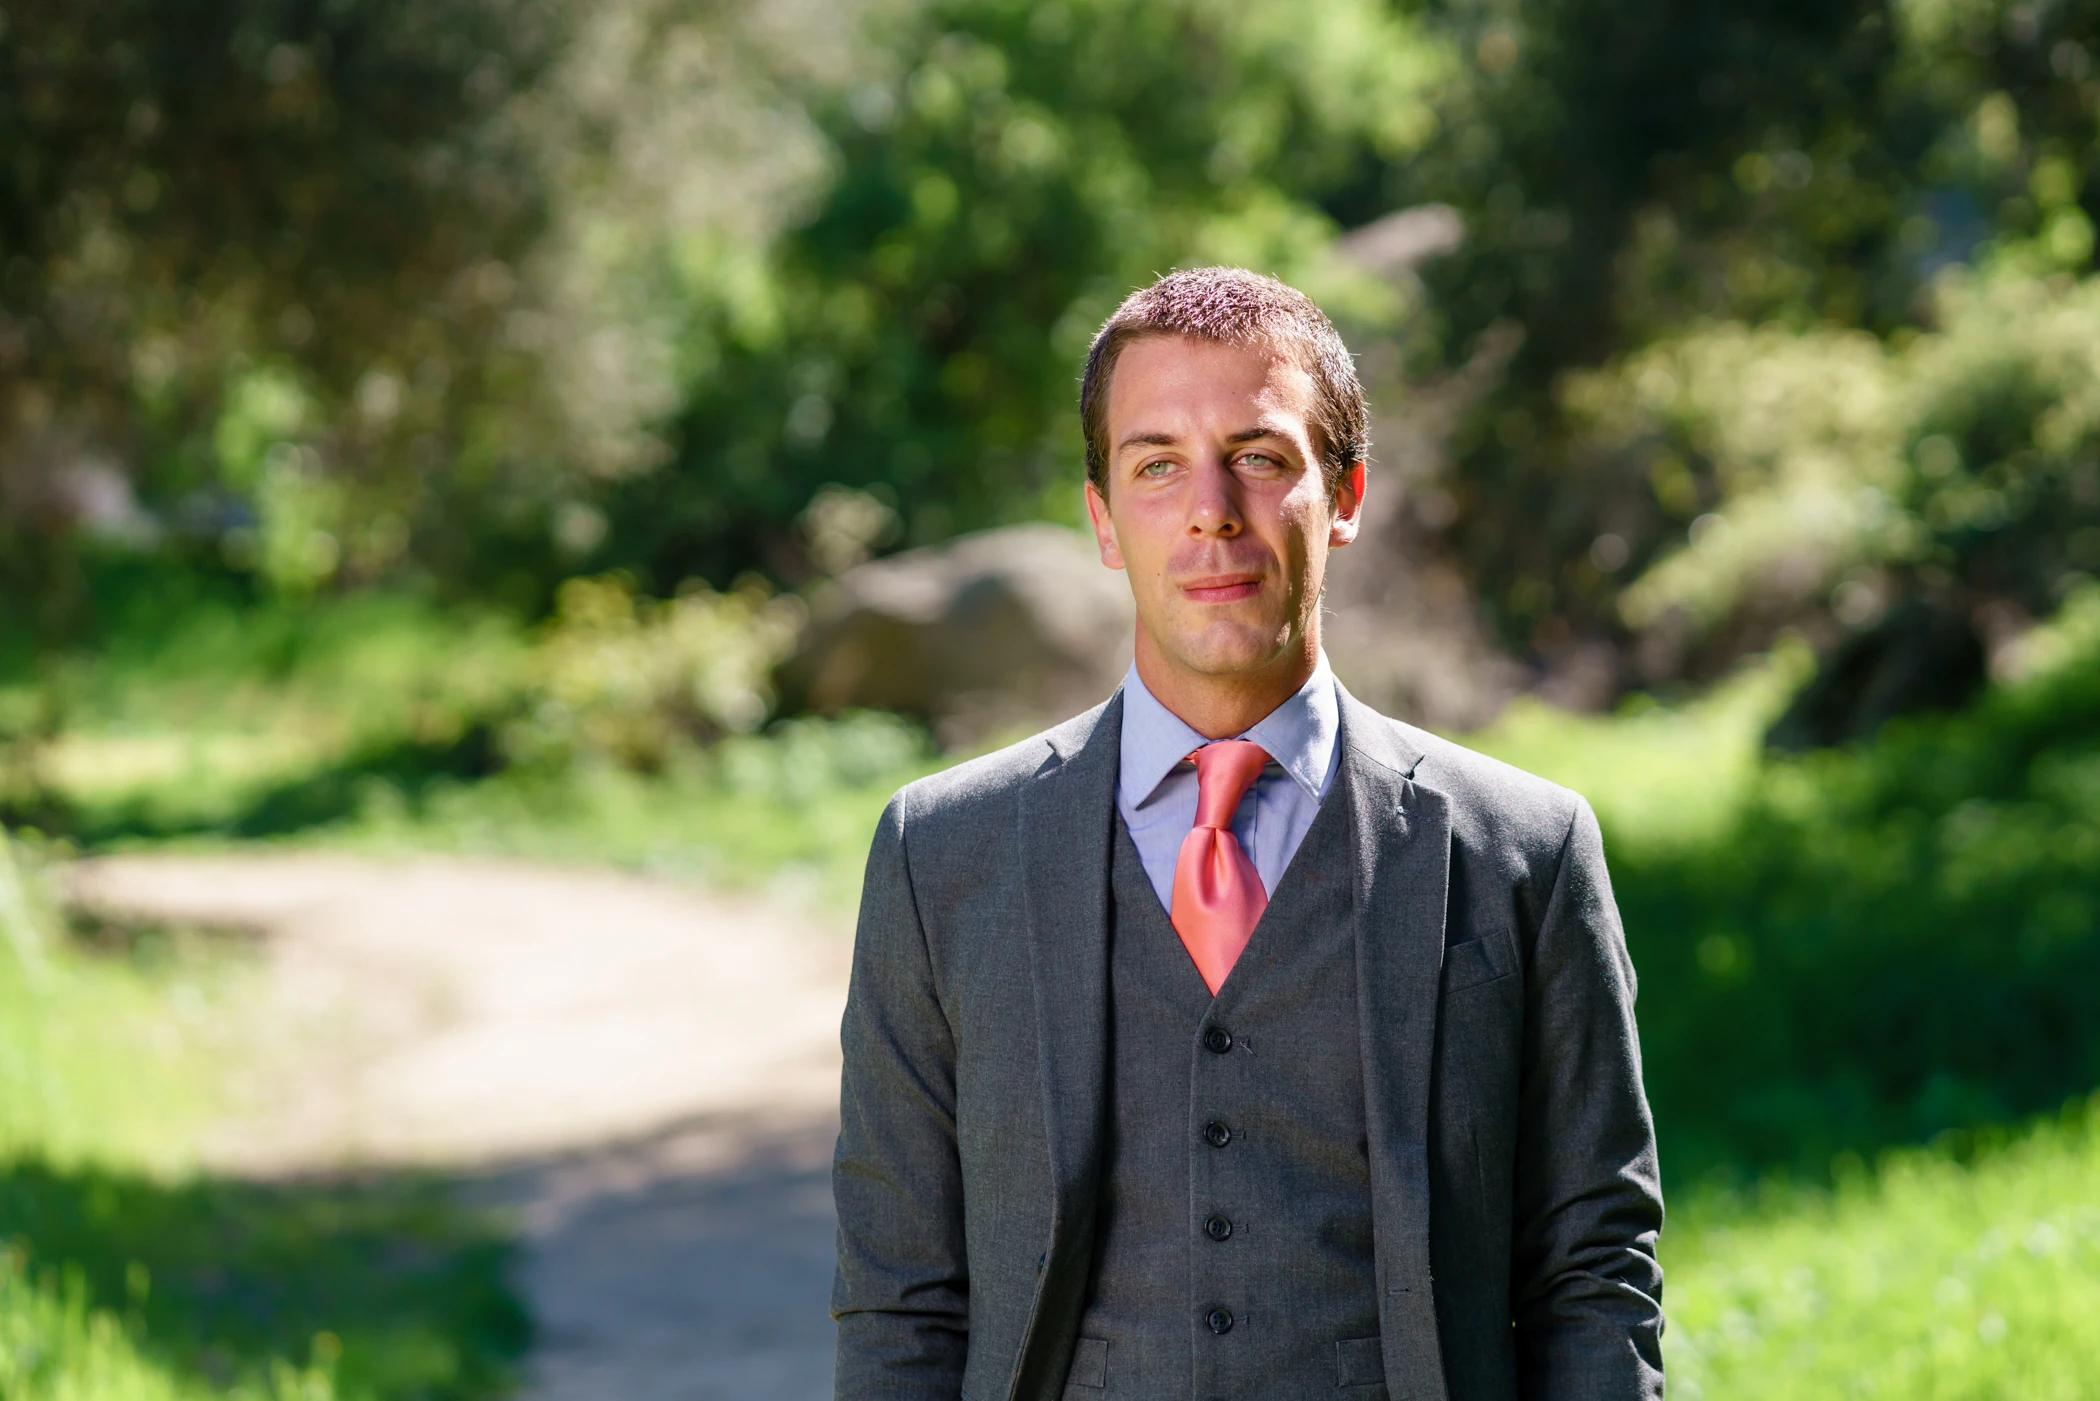
Victor's Vision: Captured at Sage Hill
Learn more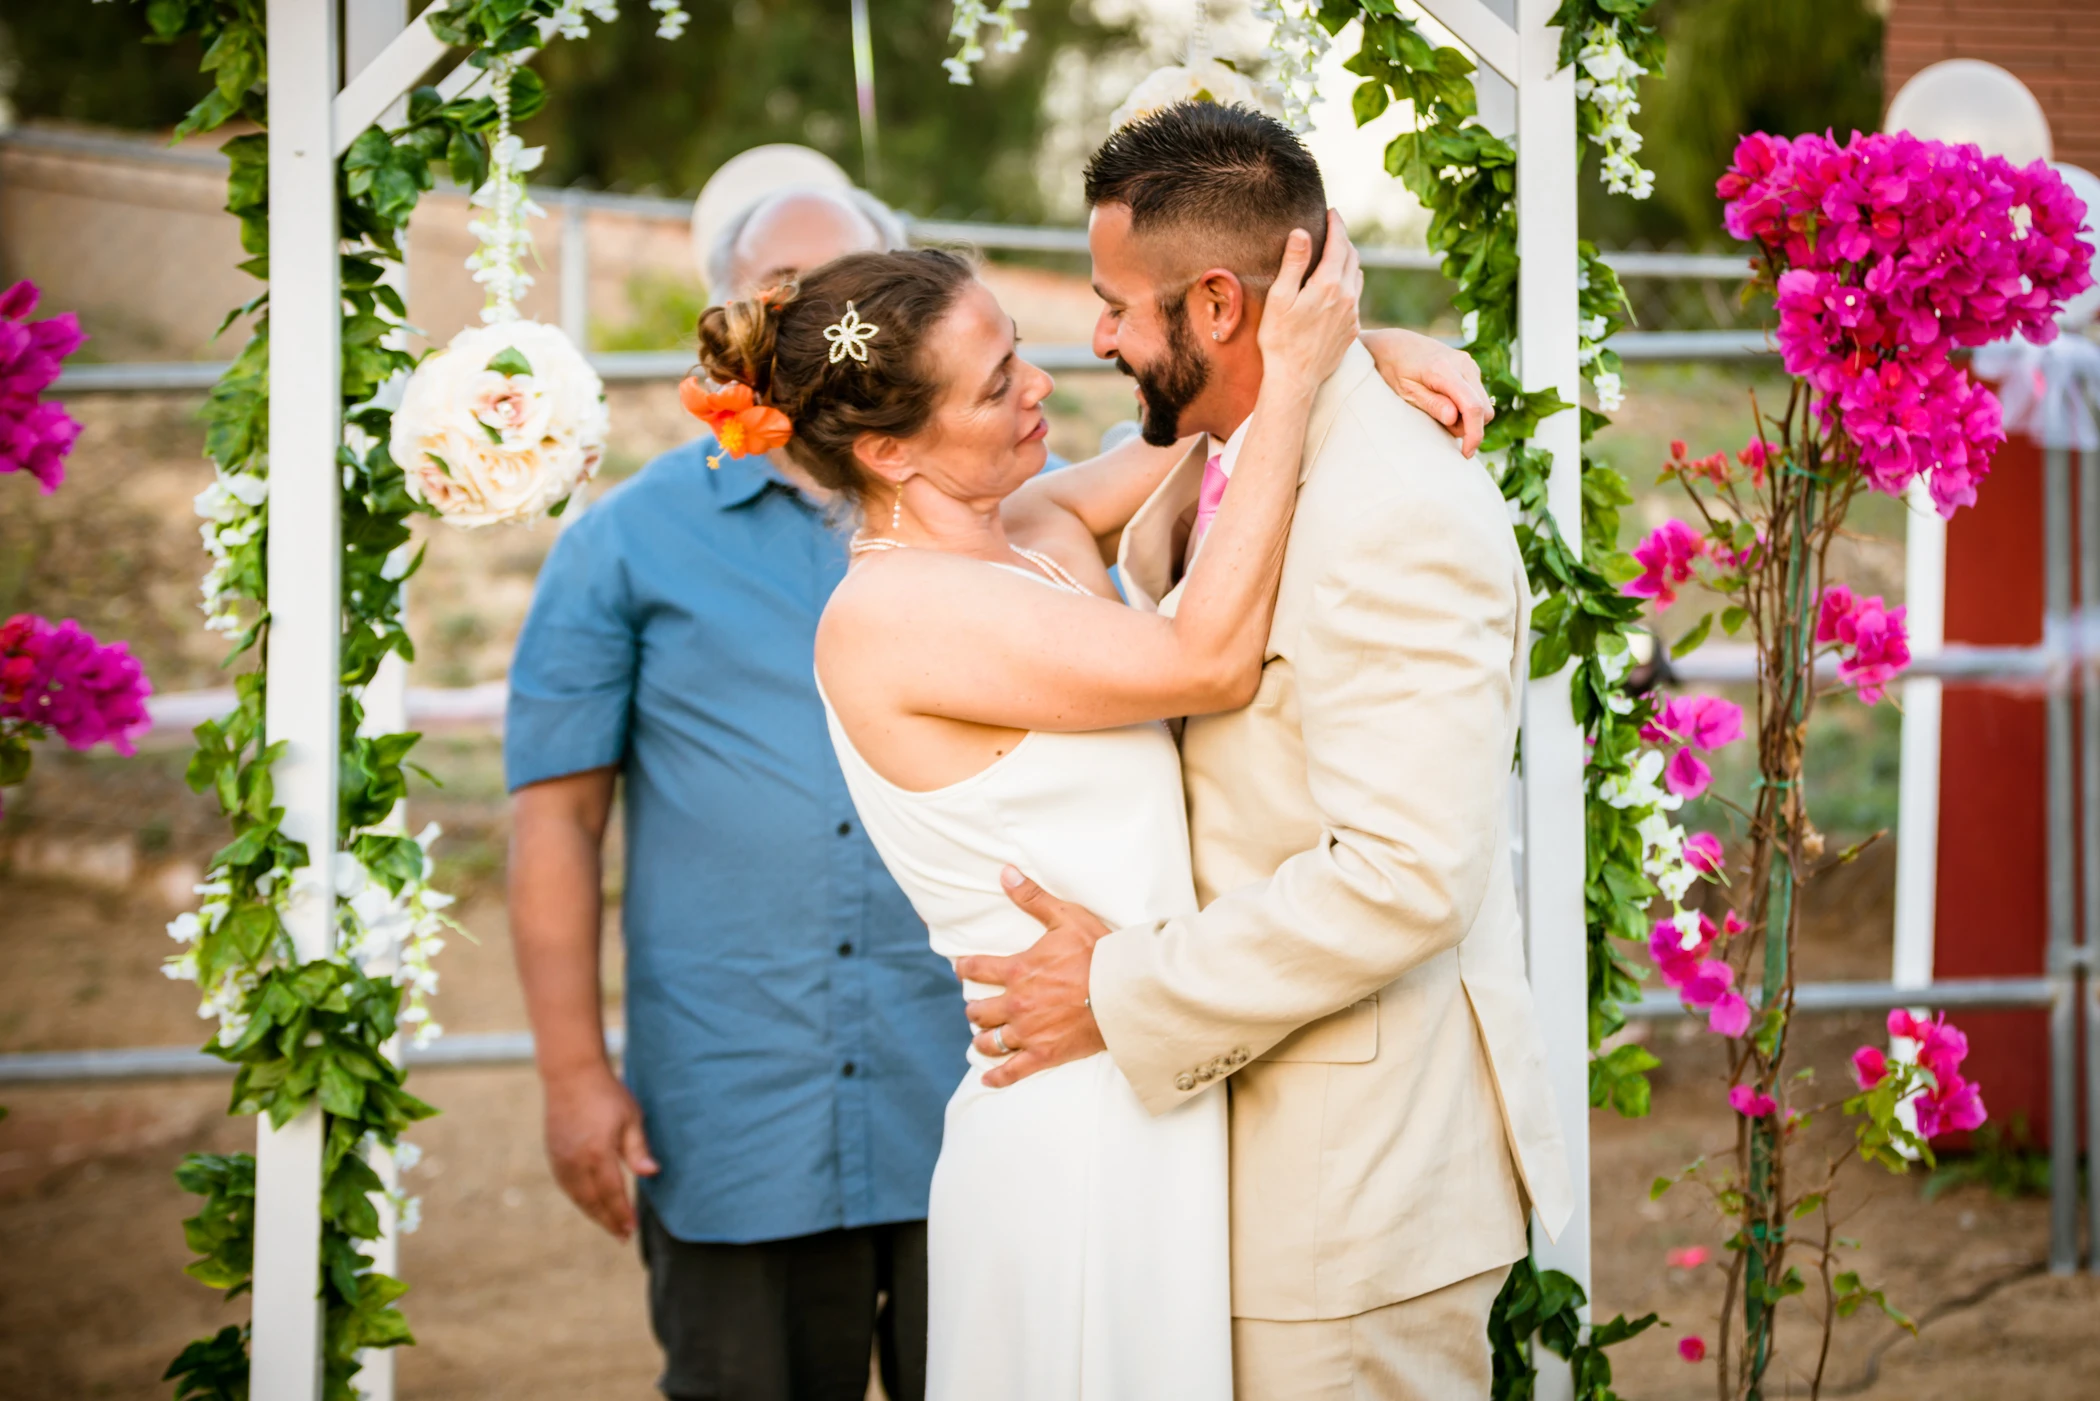
A Tale of Serenity
Learn more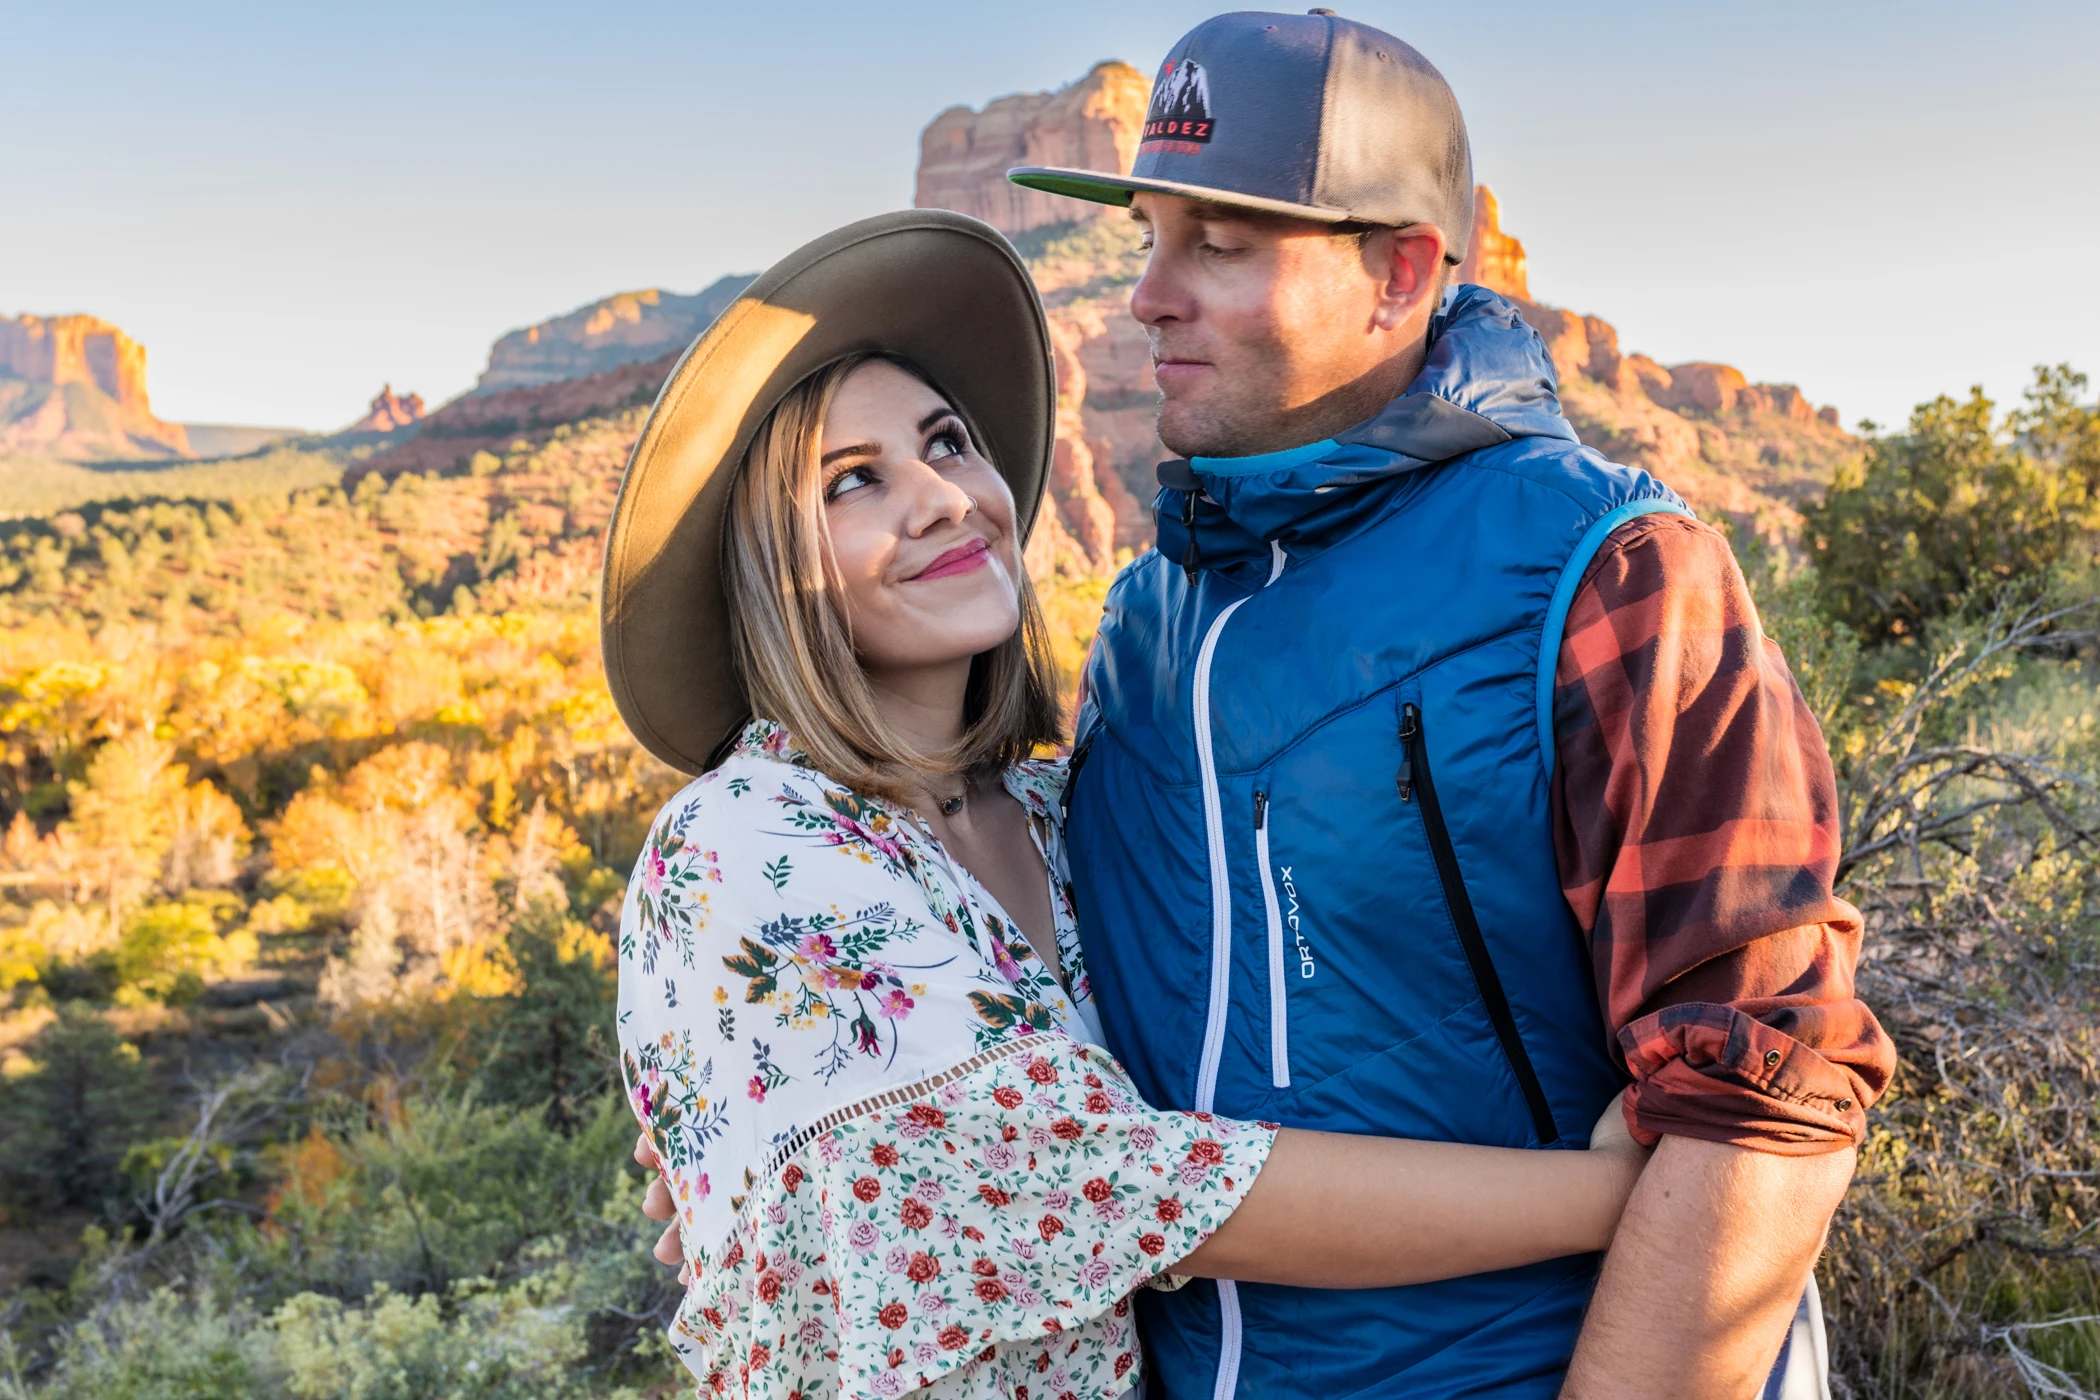
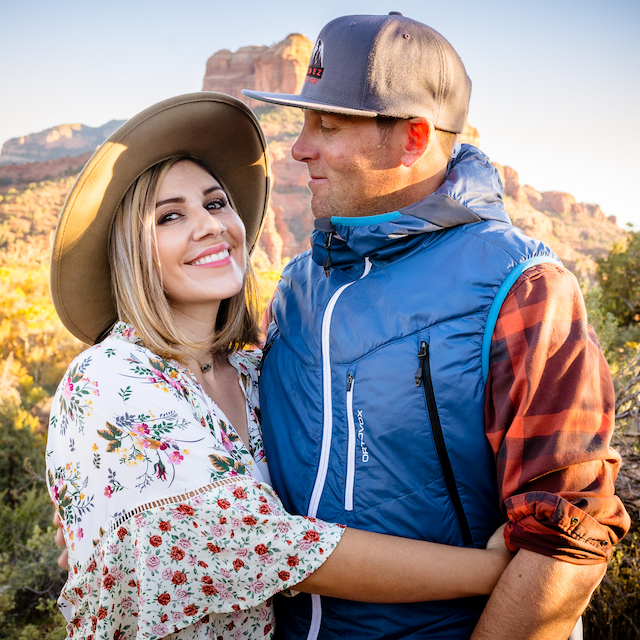
Andrea and Ryan's Sedona Portrait
Learn more
Intimate Portraits of Unique Individuals
Learn more